Managing Brands
Jump to navigation
Jump to search
This manual explains how to create, edit, and manage brands in your website’s admin area.
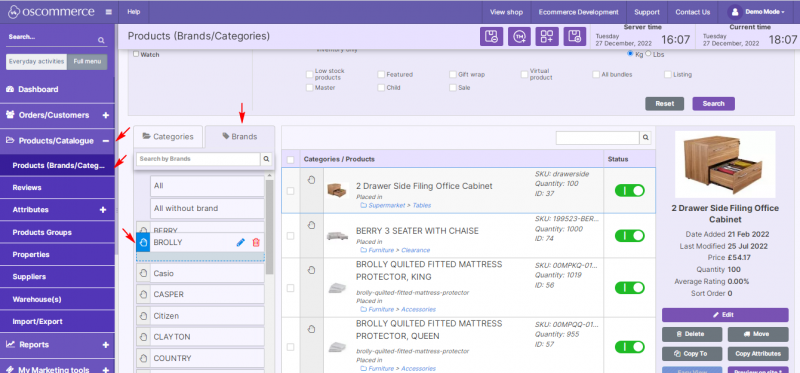
1) Access the Brands Section
- Log in to the admin area of your website.
- Navigate to Products/Catalogue → Products (Brands/Categories).
- Click the Brands tab.
2) View and Reorder Brands
- Review the list of existing brands.
- Use drag and drop to reorder brands as required.
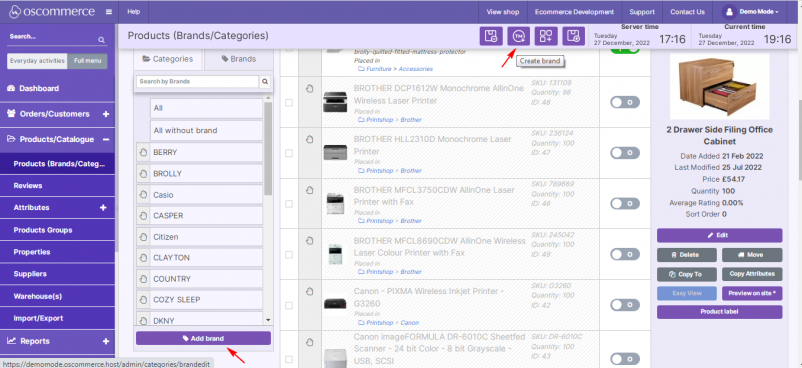
3) Add a New Brand
- Click the Add brand or Create brand button.
- Proceed to configure the brand using the tabs described below.
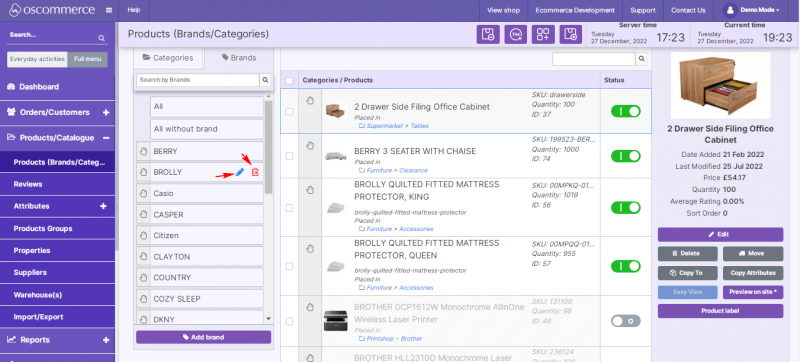
4) Edit or Delete a Brand
- To edit a brand, click the pencil icon next to it.
- To delete a brand, click the bin icon next to it.
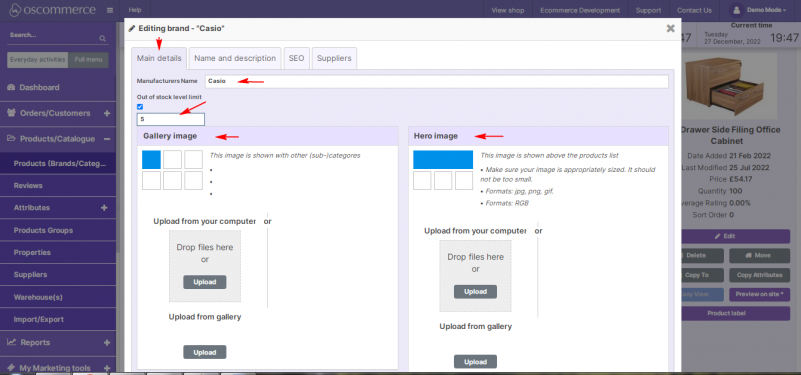
5) Configure Main Details
- Open the Main details tab while adding/editing a brand.
- Set the Brand name.
- Specify Out of stock level limit (if needed).
- Upload or set Gallery image and Hero image.
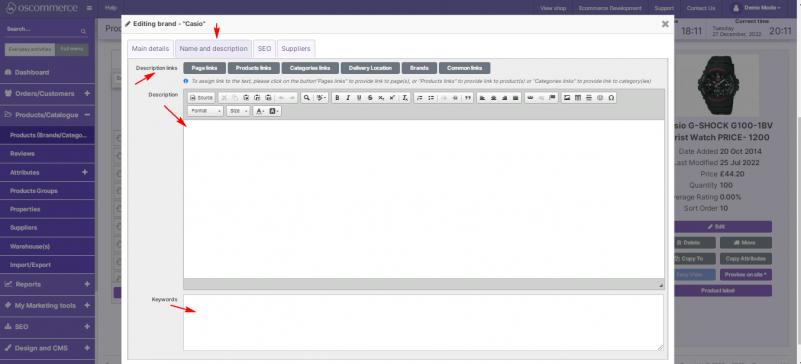
6) Name and Description
- Open the Name and description tab.
- Enter the Brand description.
- Assign links to: Pages, Products, Categories, Delivery Location, Brands, and Common links.
- Enter search keywords for the brand.
7) SEO Settings
- Open the SEO tab.
- Set or override the Manufacturers URL.
- Enter Brand SEO name, Meta description, and Title meta-tag.
- Configure H1 / H2 / H3 tags (add multiple H2/H3 if required).

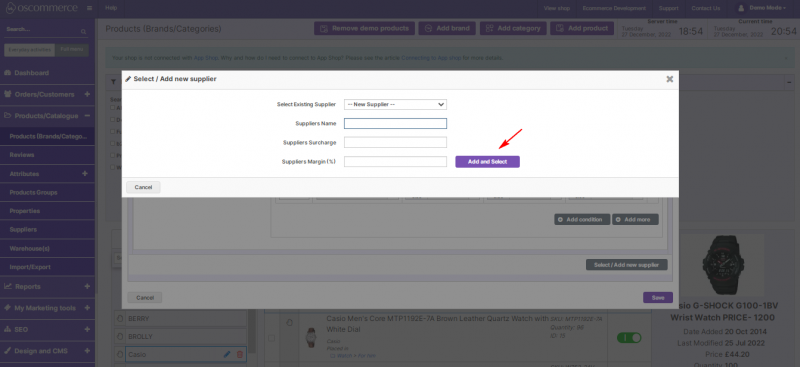
8) Suppliers
- Open the Suppliers tab.
- Choose a default supplier for this brand (if applicable).
- Use the Select / Add new supplier or Edit buttons to manage supplier entries.

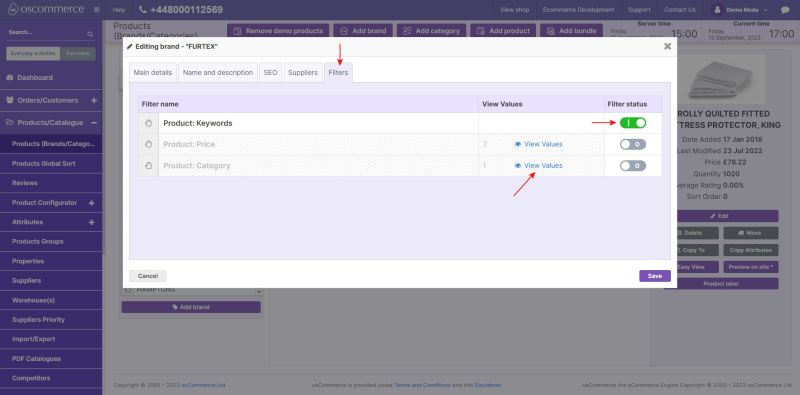
9) Filters
- Open the Filters tab.
- Activate product filters so customers can sort by keywords, price ranges, and categories.
- Click View Values to review active filter values (price ranges, and categories assigned.).
10) Final Confirmation
- Review all brand settings.
- Click Save to apply changes.
With brands configured, it is easier to organize, filter, and present product ranges to customers.