Managing Product Groups
Jump to navigation
Jump to search
This manual explains how to create, edit, and manage product groups, as well as assign products to specific groups in your website’s admin area.
Begin with the video to get an introduction.
Read the manual to explore the functionality in detail.
1) Accessing Product Groups
- Access the admin area of your website.
- Navigate to Products/Catalogue → Product Groups tabs.
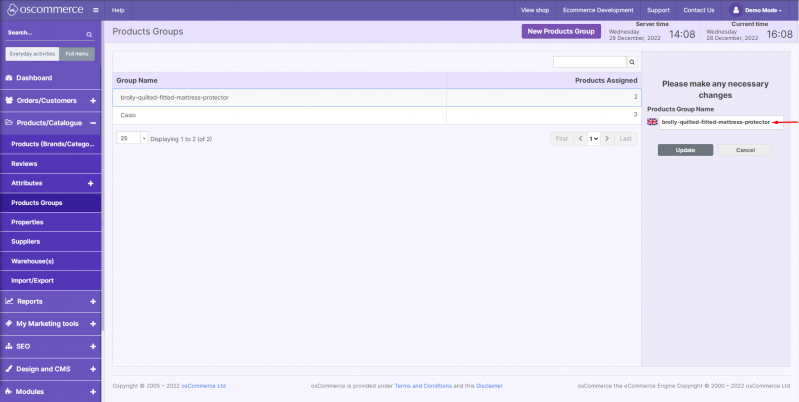
2) Managing Product Groups
Under this tab, you can:
- Filter product groups by name.
- Add a new product group.
- Edit or delete an existing group.
- Assign products to a specific group.

3) Adding or Editing a Product Group
When adding or editing a group, you can update the group name as needed.
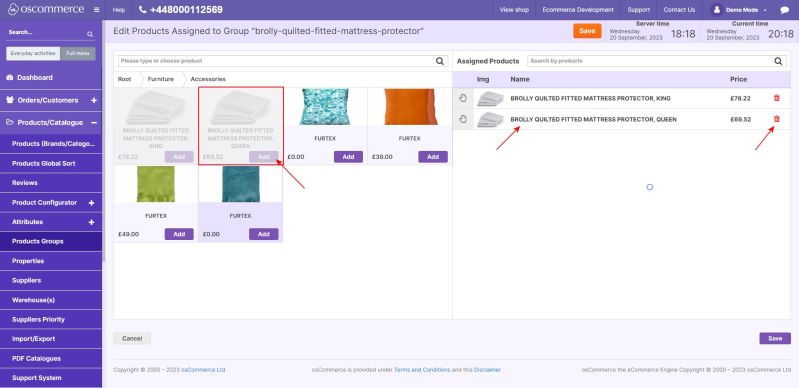
4) Assigning Products to a Group
- Click the Assigned Products button (see the first screenshot).
- In the catalog list, locate the required product(s).
- Click Add to move the selected items to the Assigned Products section.
5) Removing Products from a Group
- In the Assigned Products section, click the trash bin icon next to the product you want to remove.
- Click Save to confirm all changes and complete assigning or removing products.