Managing Stocktaking Costs
This manual explains how to generate and manage Stocktaking Cost reports in your store.
Start with the video to get a quick introduction to the feature.
Read the manual to explore the functionality in detail.
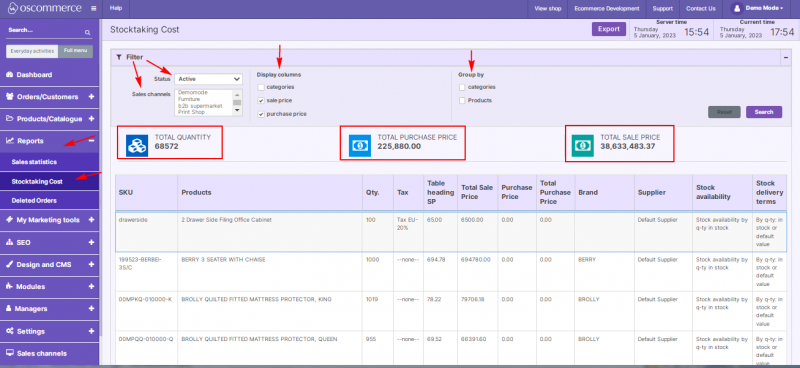
1) Access Stocktaking Cost Reports
- Log in to the admin area of your website.
- Navigate to Reports → Stocktaking Cost tabs.
2) Use Filters to Generate Reports
When creating a report, apply the available filters:
- Status
- Sales channels
3) Select Additional Columns
To make reports more informative, you can add extra columns to the default ones:
- Categories
- Sale price
- Purchase price
The report data can also be grouped by Categories and/or Products.
4) Review Calculations
The following totals are calculated automatically and displayed above the report table:
- Total Quantity
- Total Purchase Price
- Total Sale Price
5) Export Report
If required, export the Stocktaking Cost report to a CSV file in one click.
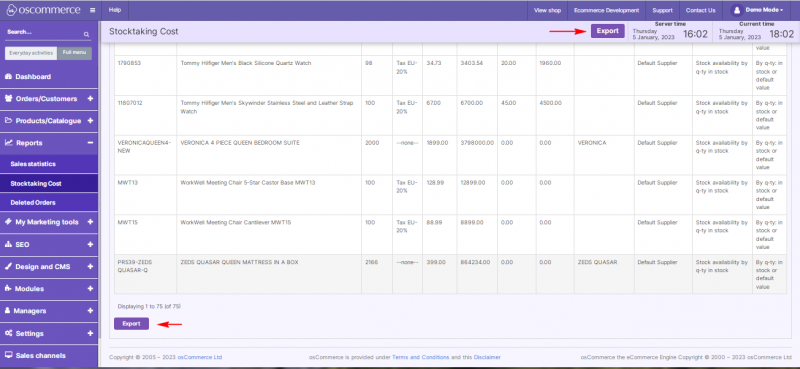
6) Confirm Report Data
After generating or exporting a report, review the results to ensure that:
- Filters have been applied correctly.
- All necessary columns are included.
- Totals match the expected stock values.